Easy guide to restore your leaking taps
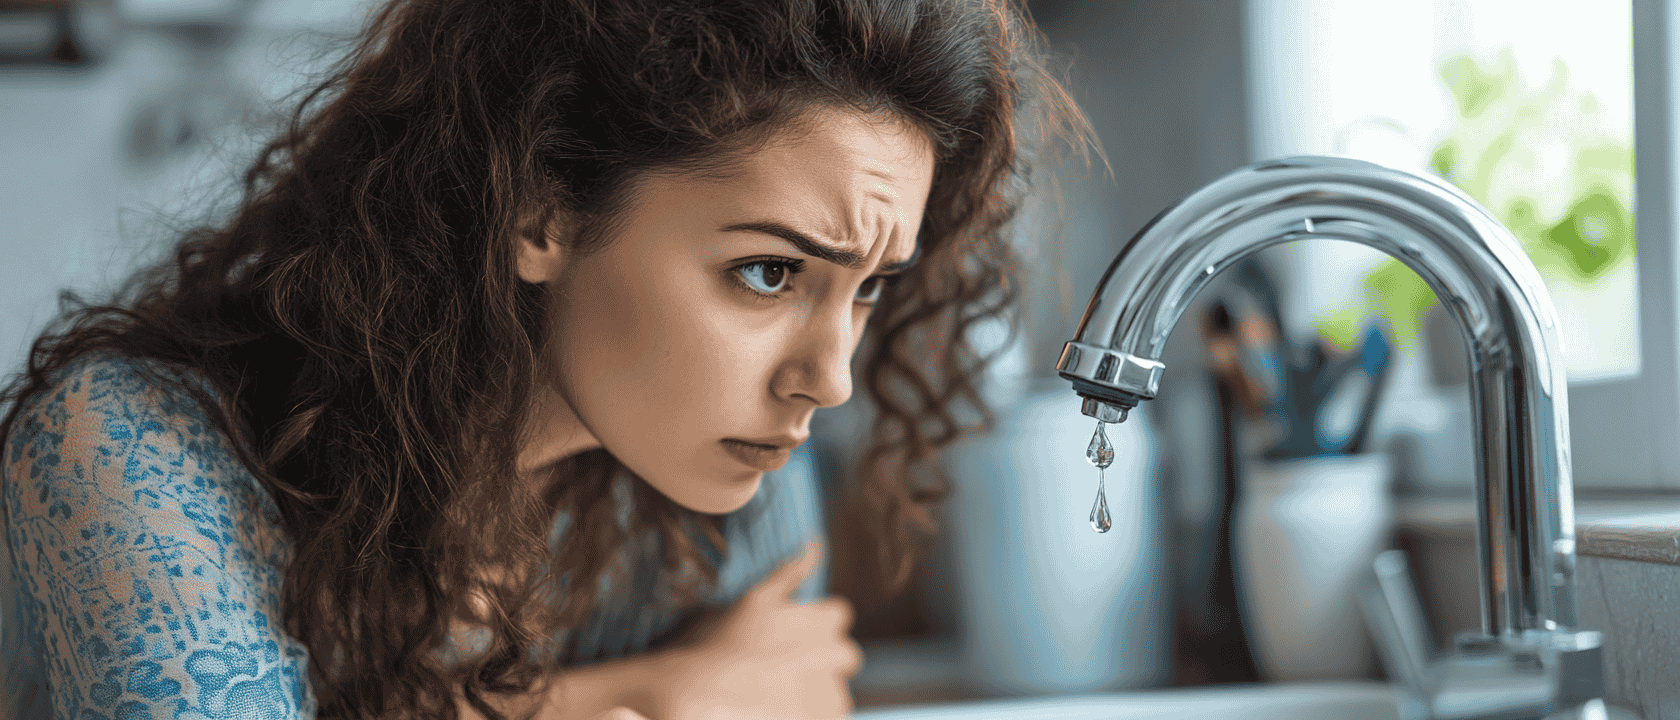
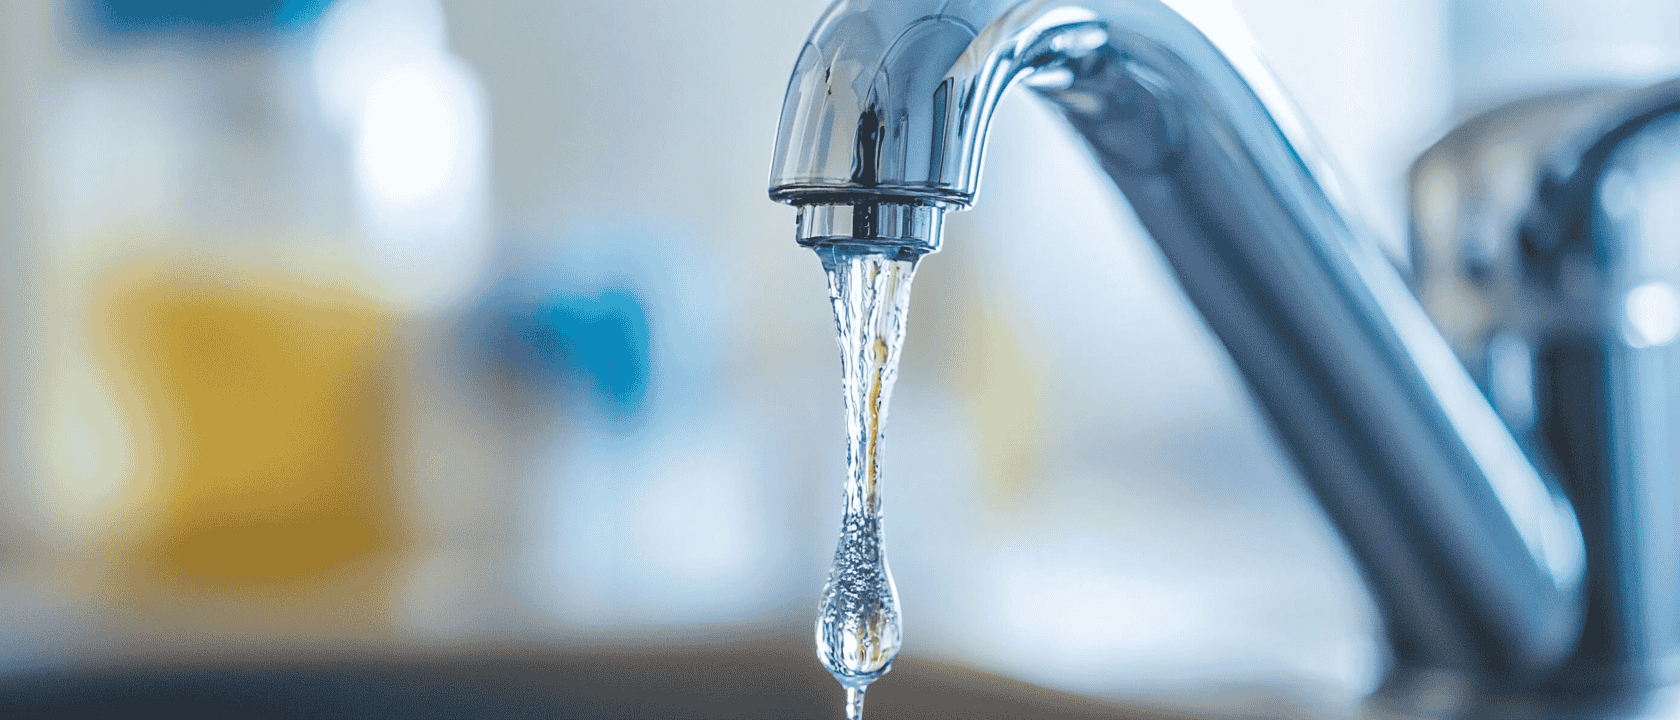
Is a dripping tap driving you mad? To fix a dripping tap is easier than you might think. In this article, we’ll show you how to identify the source of the dripping taps, gather the necessary tools, and perform simple repairs. Let’s get started!
Key Takeaways
- Identify the source of a leaking tap by checking the spout, handle, or base to determine the necessary repairs.
- Having essential tools ready, like adjustable spanners and screwdrivers, is crucial for effectively being able to fix a dripping tap.
- Preventative maintenance, including regular checks on components and managing water pressure, can help avoid a future leaking tap and costly repairs.
Identifying the Source of the Drip
Identifying the source of a dripping tap is the first step. A leaking tap commonly originates from the tap spout, handle, or base. Each of these areas can be affected by different issues, such as worn-out washers, damaged O-rings, or faulty seals.
A dripping tap is not just an inconvenience; it can lead to significant problems if ignored. The constant drip can damage your sink and surrounding areas, resulting in costly repairs. Promptly addressing the leaky tap prevents further damage and conserves water.
If you are determined to fix a leaking tap on your own begin by carefully observing your tap. Determine if the water is dripping from the spout, base, or handle. Pinpointing the exact location of the leak helps you determine the necessary repairs and avoid unnecessary work. Once identified, gather the tools needed for the job.
Essential Tools for Fixing a Dripping Tap
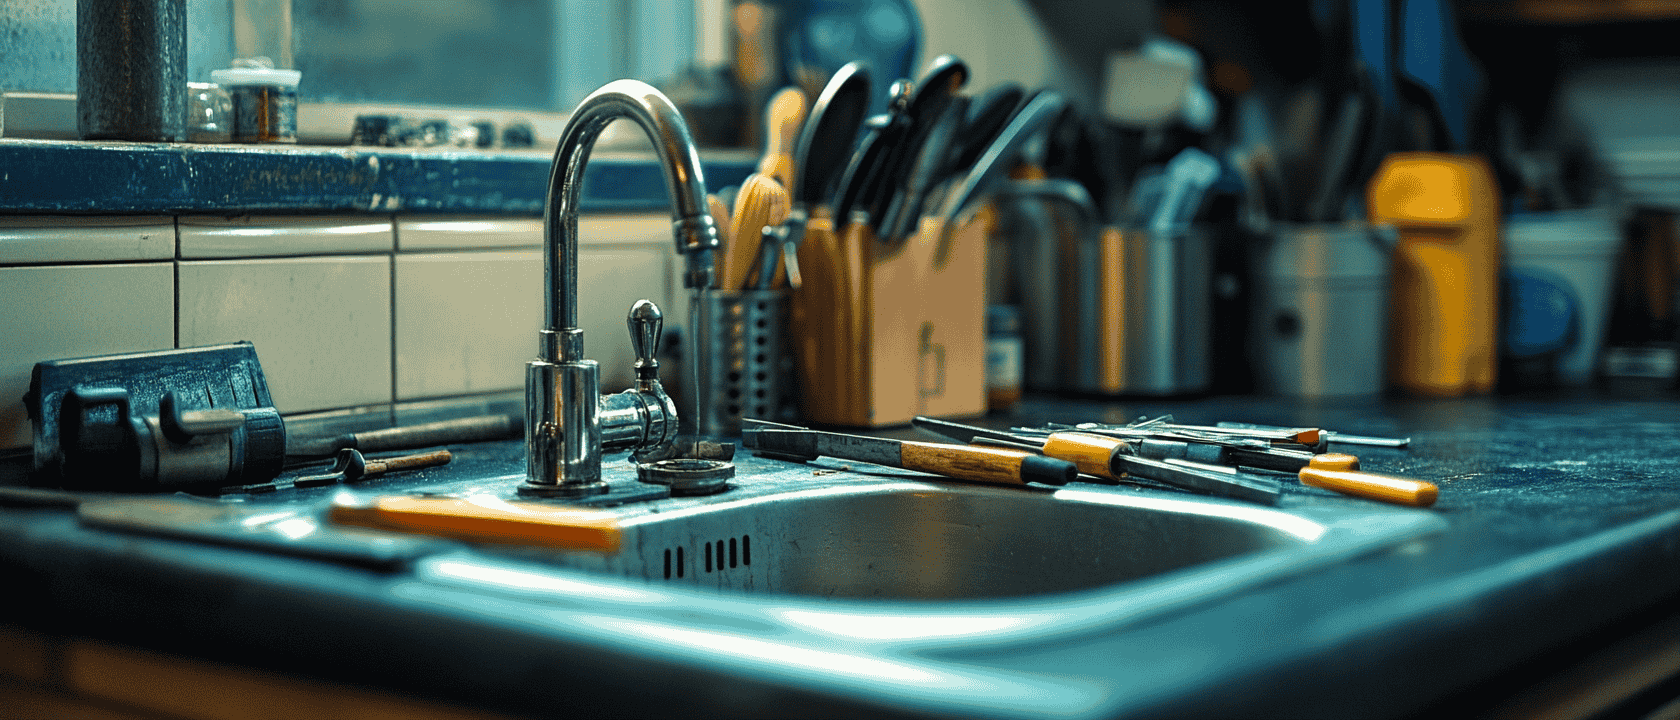
Having the right tools is crucial for any DIY project, including how to fix a dripping tap. The tools needed vary depending on the tap type and issue, but some basics are universally required.
An adjustable spanner and a set of flathead and cross-head screwdrivers are fundamental. These help loosen and unscrew tap components. Pliers are useful for gripping and turning parts, and replacement washers, O-rings, and seals ensure a tight fit to stop leaks.
For specialised tasks like fixing a ceramic disc valve tap or a mixer tap, specific tools such as an Allen key, box spanner, or seat grinder tool may be needed. Having these tools on hand simplifies the repair process and avoids unnecessary trips to the plumbing and heating shop.
Preparing Your Tap for Repair
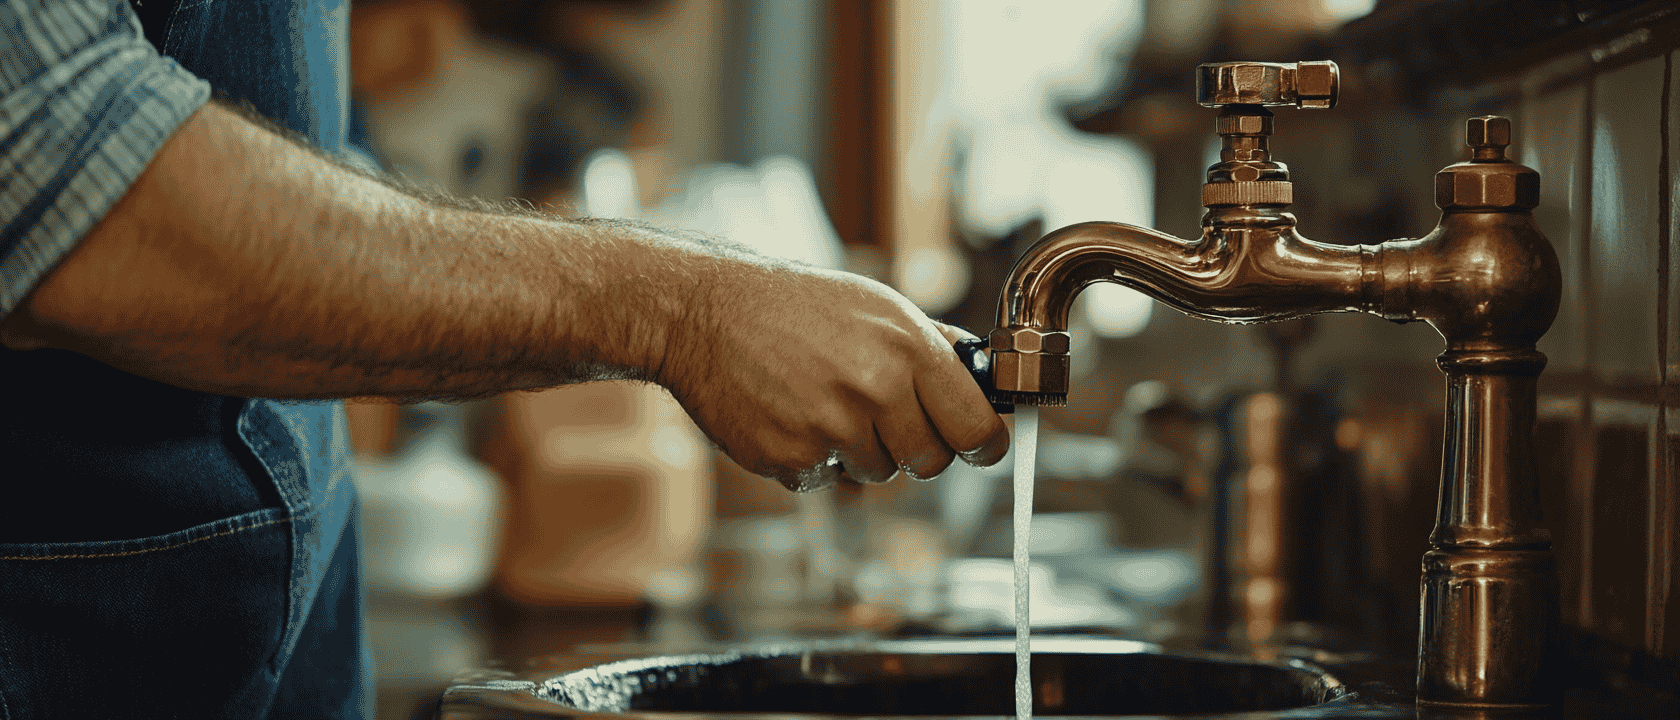
Proper preparation is key. Turn off the water supply at both the isolating valve and the mains to prevent any water flow while working on the tap.
After turning off the water supply, open the tap to release any remaining water and confirm that the water supply has stopped. Plug the sink’s drain to avoid losing small parts during the repair.
With the sink covered and the water supply turned off, you’re ready to fix a leaking tap. Whether replacing a worn washer, fixing a ceramic disc valve tap, or changing an O-ring, a clear and organised workspace ensures a smoother and more efficient process. This applies to both a leaking kitchen tap or bathroom taps alike and also includes compression valve taps.
Replacing a Worn Washer
A common cause of a leaking tap is a worn washer. Tap washers, small rubber discs near the tap seat, create a watertight seal when the tap is winded down by squeezing the rubber seal against the tap seat. Over time, these washers can deteriorate, causing drips and leaks from leaking taps.
To replace a worn tap washer, remove the hot and cold tap button to access the internal mechanisms. Unscrew the tap bonnet to reach the jumper valve, where the washer is located. Loosen the screw at the top of the tap head completely to access the valve.
Carefully remove the old, damaged washer and replace it with a new one of the same size and shape. Avoid over-tightening, as this can cause stress and further issues. After reassembling the tap, turn on the water and check for any remaining drips.
Fixing a Tap with Ceramic Discs
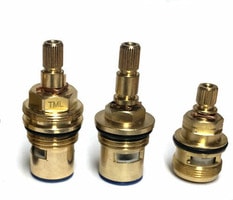
Ceramic disc valve taps, a modern alternative to a traditional tap, require a different repair approach. They use two ceramic discs which typically quarter turn to control water flow, offering a more durable and reliable solution.
To fix a ceramic disc tap handle, begin by removing the handle. Use a knife or sharp object to take off the hot and cold button, then loosen the Allen screw underneath with the correct size Allen key. Next, use an adjustable wrench to loosen and remove the valve.
Inspect the ceramic discs for damage or grime. Replace them if damaged (in some cases damage to the valves are not obvious). After reassembling the tap, slowly reopen the isolating valves and check for leaks. Clean and properly installed discs maintain a watertight seal and prevent future leaks.
Changing the O-Ring
A tap leaking beneath the handle or spout may need an O-ring replacement. O-rings are small rubber rings that seal tap components. Over time, they can wear out or become damaged, causing leaks.
To access the O-ring, remove the grub screw at the base of the spout and lift the spout off. Use a screwdriver to remove the worn or damaged O-ring, then roll the replacement O-ring into position. Align the marker on the spout with the groove in the tap body when replacing the spout.
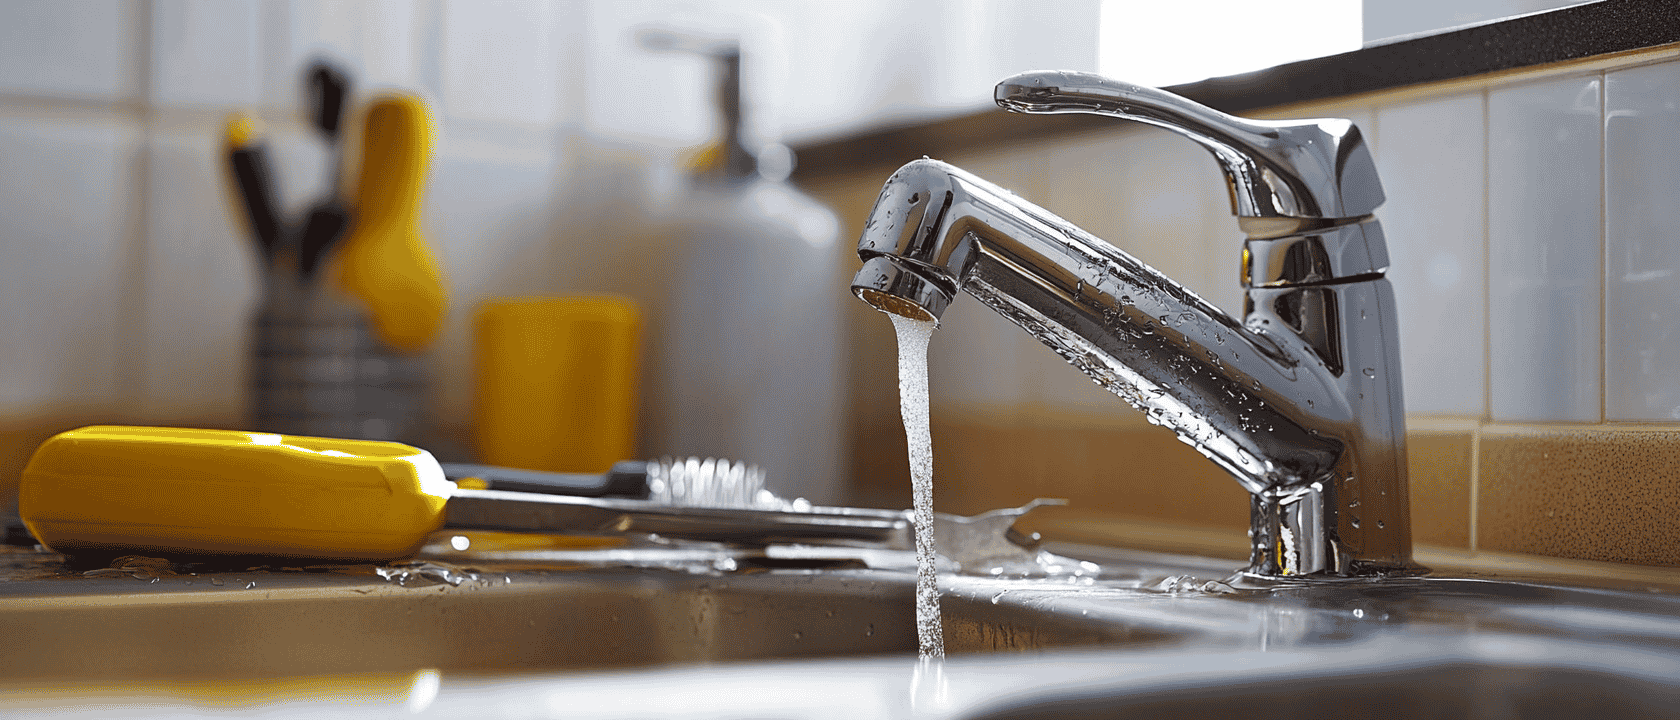
After replacing the O-ring, test the tap to ensure it’s working properly and leak-free. Using the correct diameter and thickness for the replacement O-ring is crucial for a proper seal and prevents future leaks.
Addressing Leaking Monobloc Mixer Taps
Mixer taps, which combine hot and cold water streams into one, can develop leaks over time. A damaged cartridge, which controls water flow and temperature, often causes these leaks.
To fix a leaking tap, turn off the water supply and remove the plastic hot or cold cap on the mixer handle to expose the grub screw. After removing the handle, take off the metal dress sleeve and unscrew the brass retaining nut to access the cartridge.
Inspect the cartridge for cracks or scratches caused by scale and debris. Replace the cartridge if damaged. Ensure the new cartridge’s locator pins match up correctly for proper operation.
Lastly, reassemble the tap and turn on the water supply to check for leaks. Addressing issues with the cartridge and O-rings where the spout and body connect can effectively fix a leaking mixer tap and restore proper working order.
Preventative Maintenance Tips
Preventative maintenance is vital for keeping taps in good working order and avoiding future leaks. Regularly checking and replacing worn components can prevent leaks before they start. Simple practices, such as avoiding over-tightening taps and monitoring for signs of wear, help maintain your plumbing system’s health.
Additionally, managing water pressure and adding a water softener can prevent scale buildup, which often contributes to dripping taps. Incorporating these preventative measures into your routine can save you from the hassle and expense of major repairs down the line on your plumbing system.
Summary
Fixing a dripping tap might seem daunting, but with the right tools and knowledge, it can be a straightforward task. From identifying the source of the drip to replacing worn washers and O-rings, each step is manageable with a bit of patience and attention to detail.
By addressing leaks promptly and following preventative maintenance tips, you can ensure your taps function correctly and avoid unnecessary water waste and damage. So, take control of your plumbing problems, and enjoy the satisfaction of a job well done.
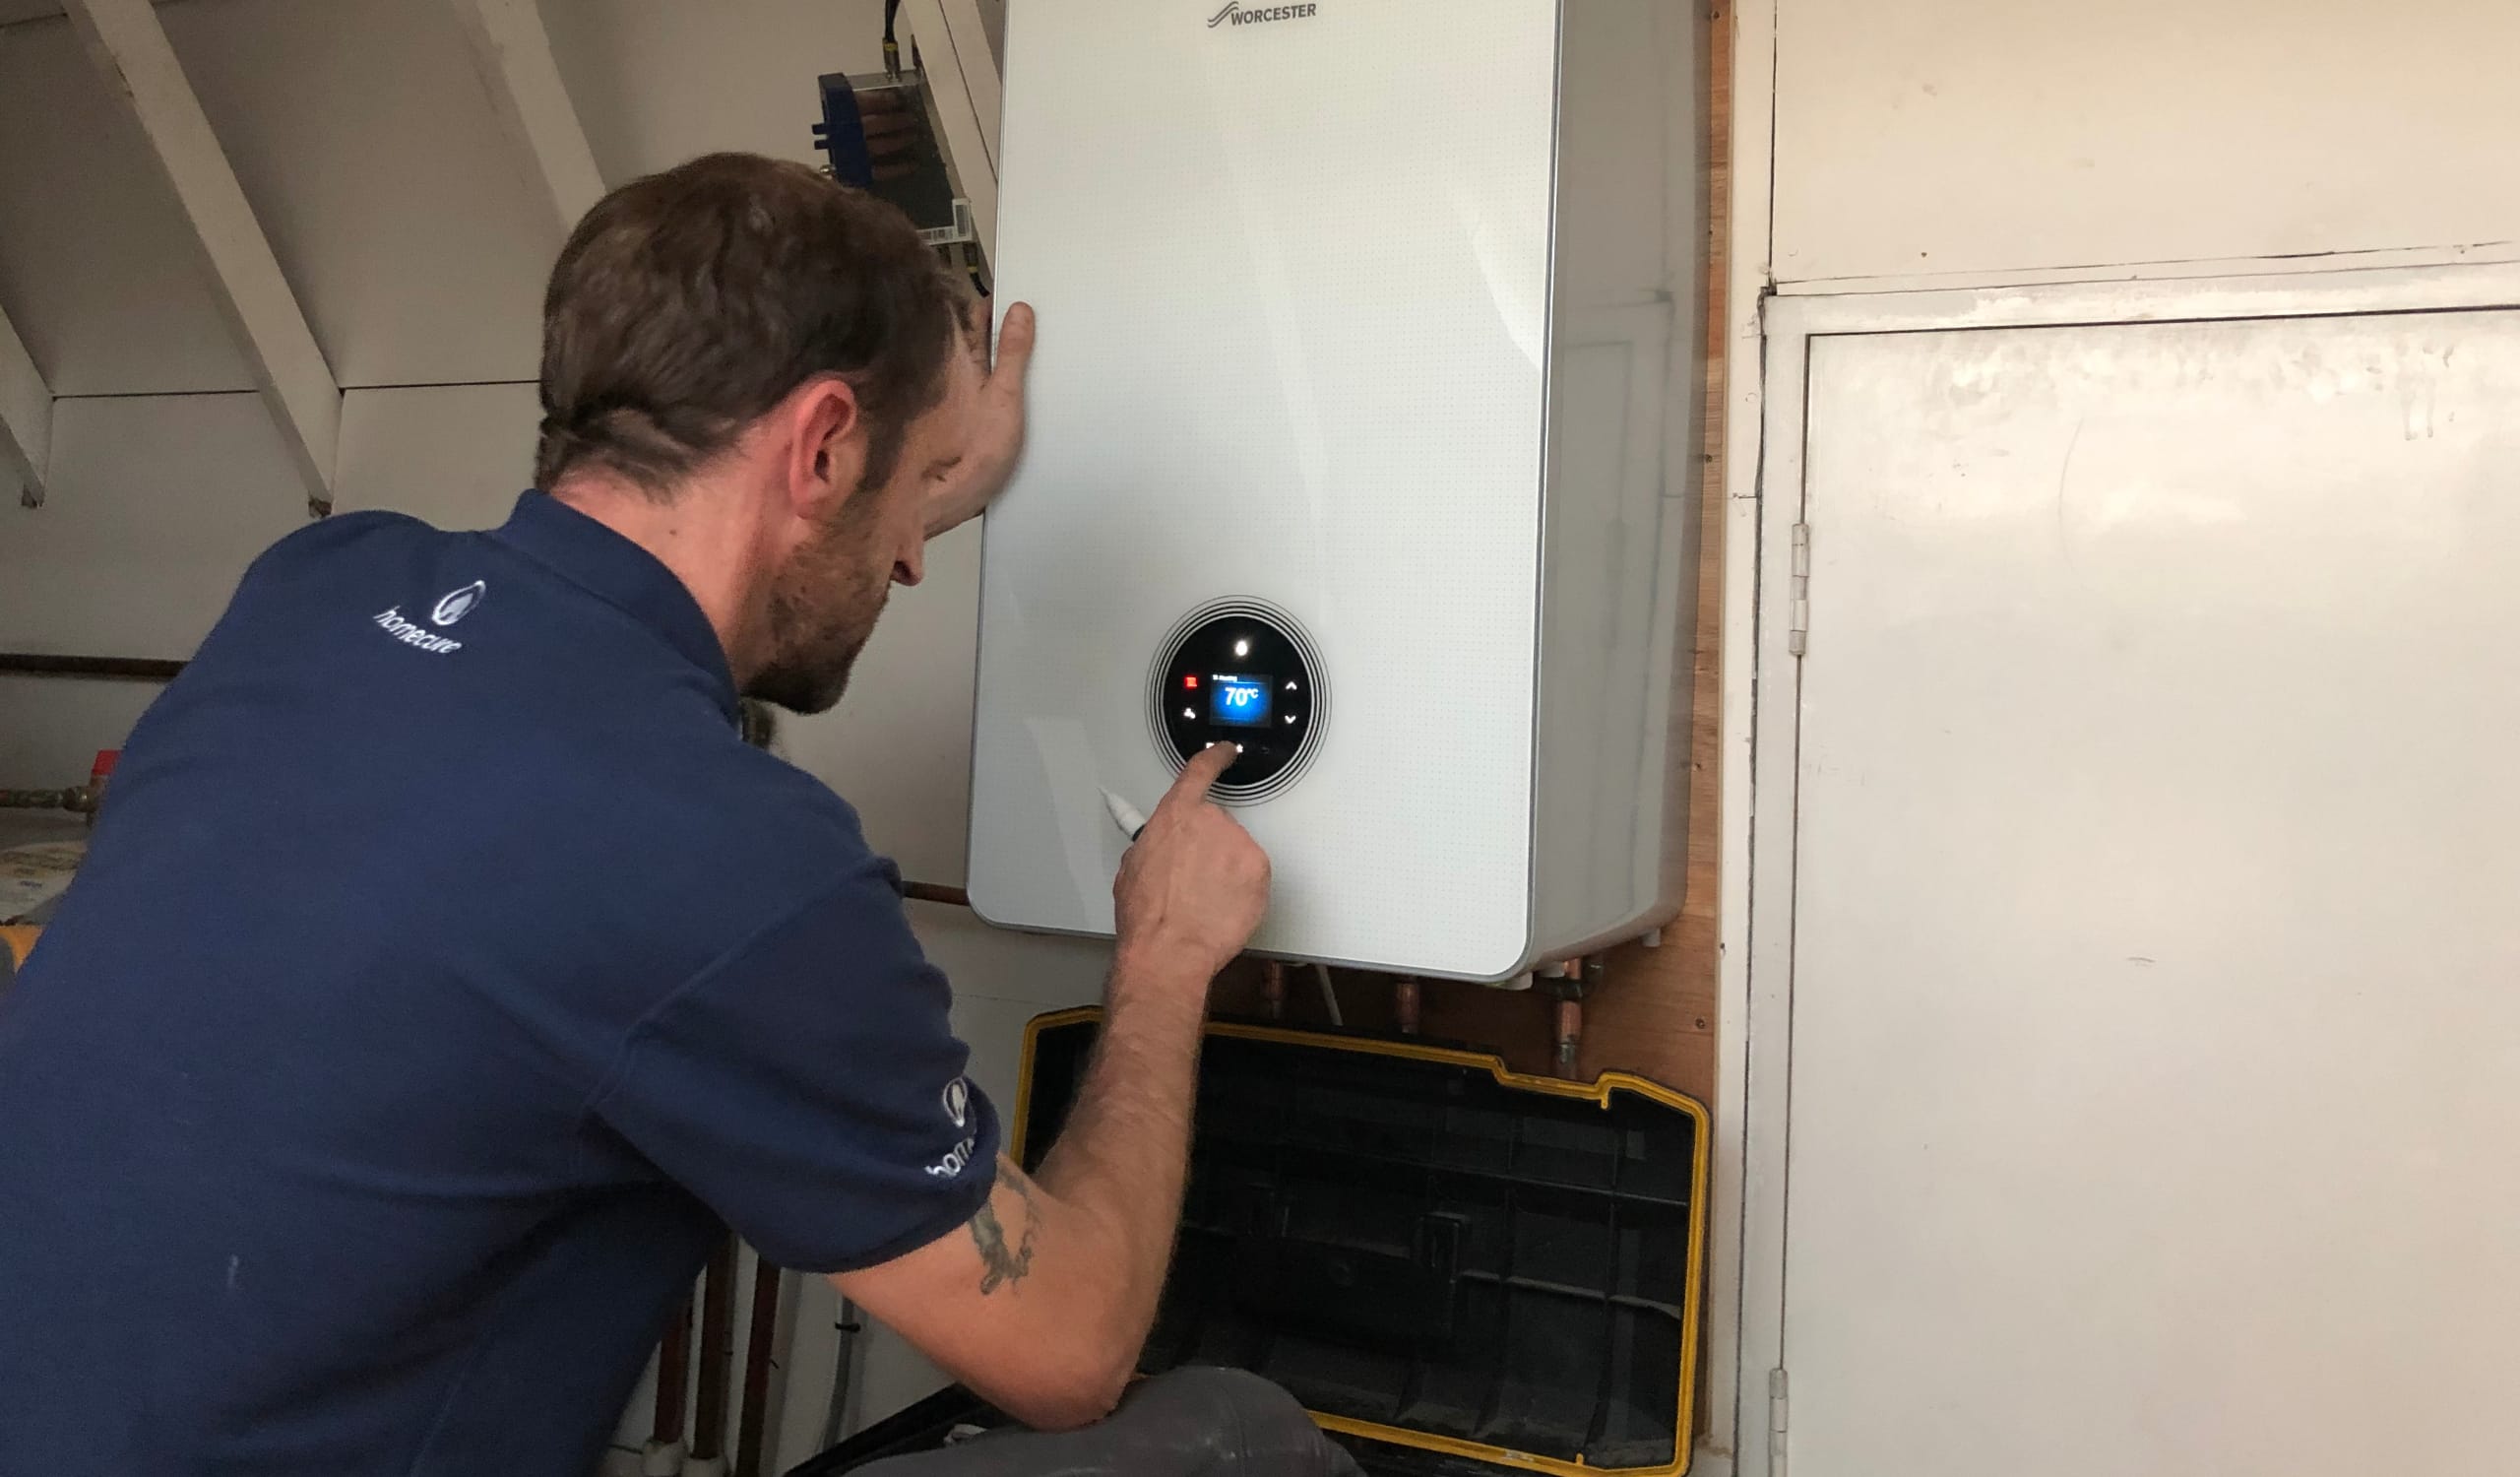
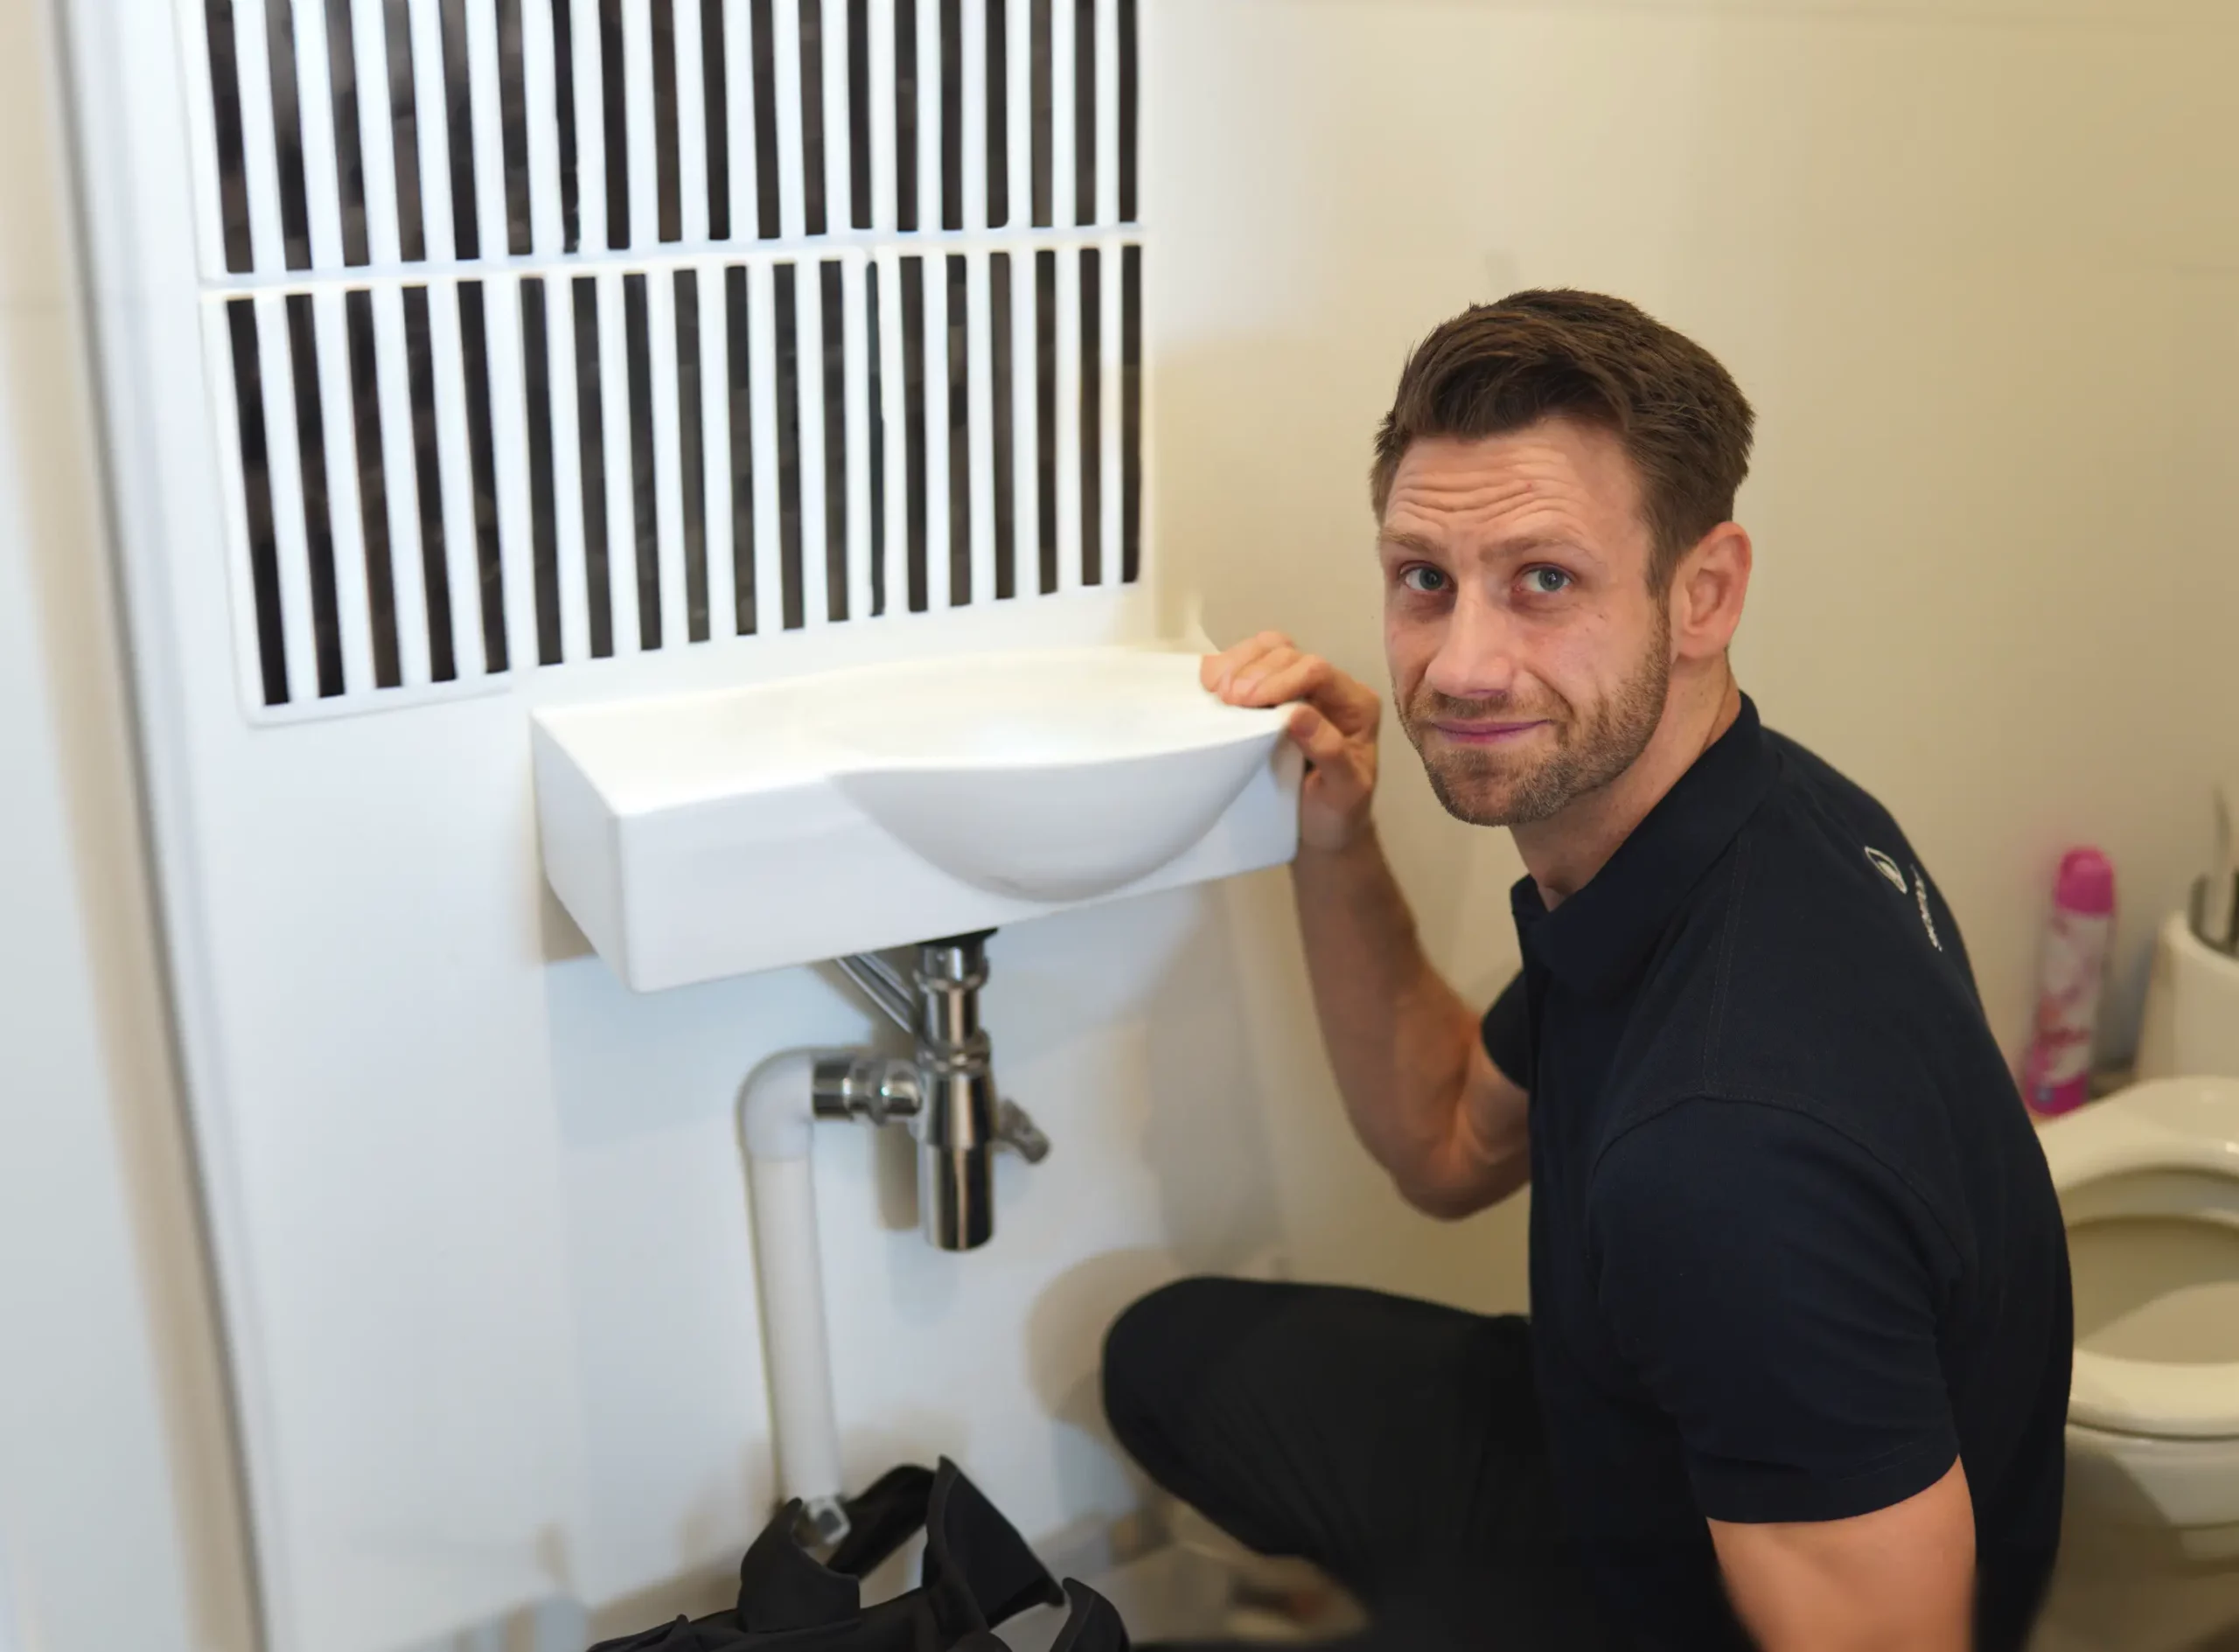
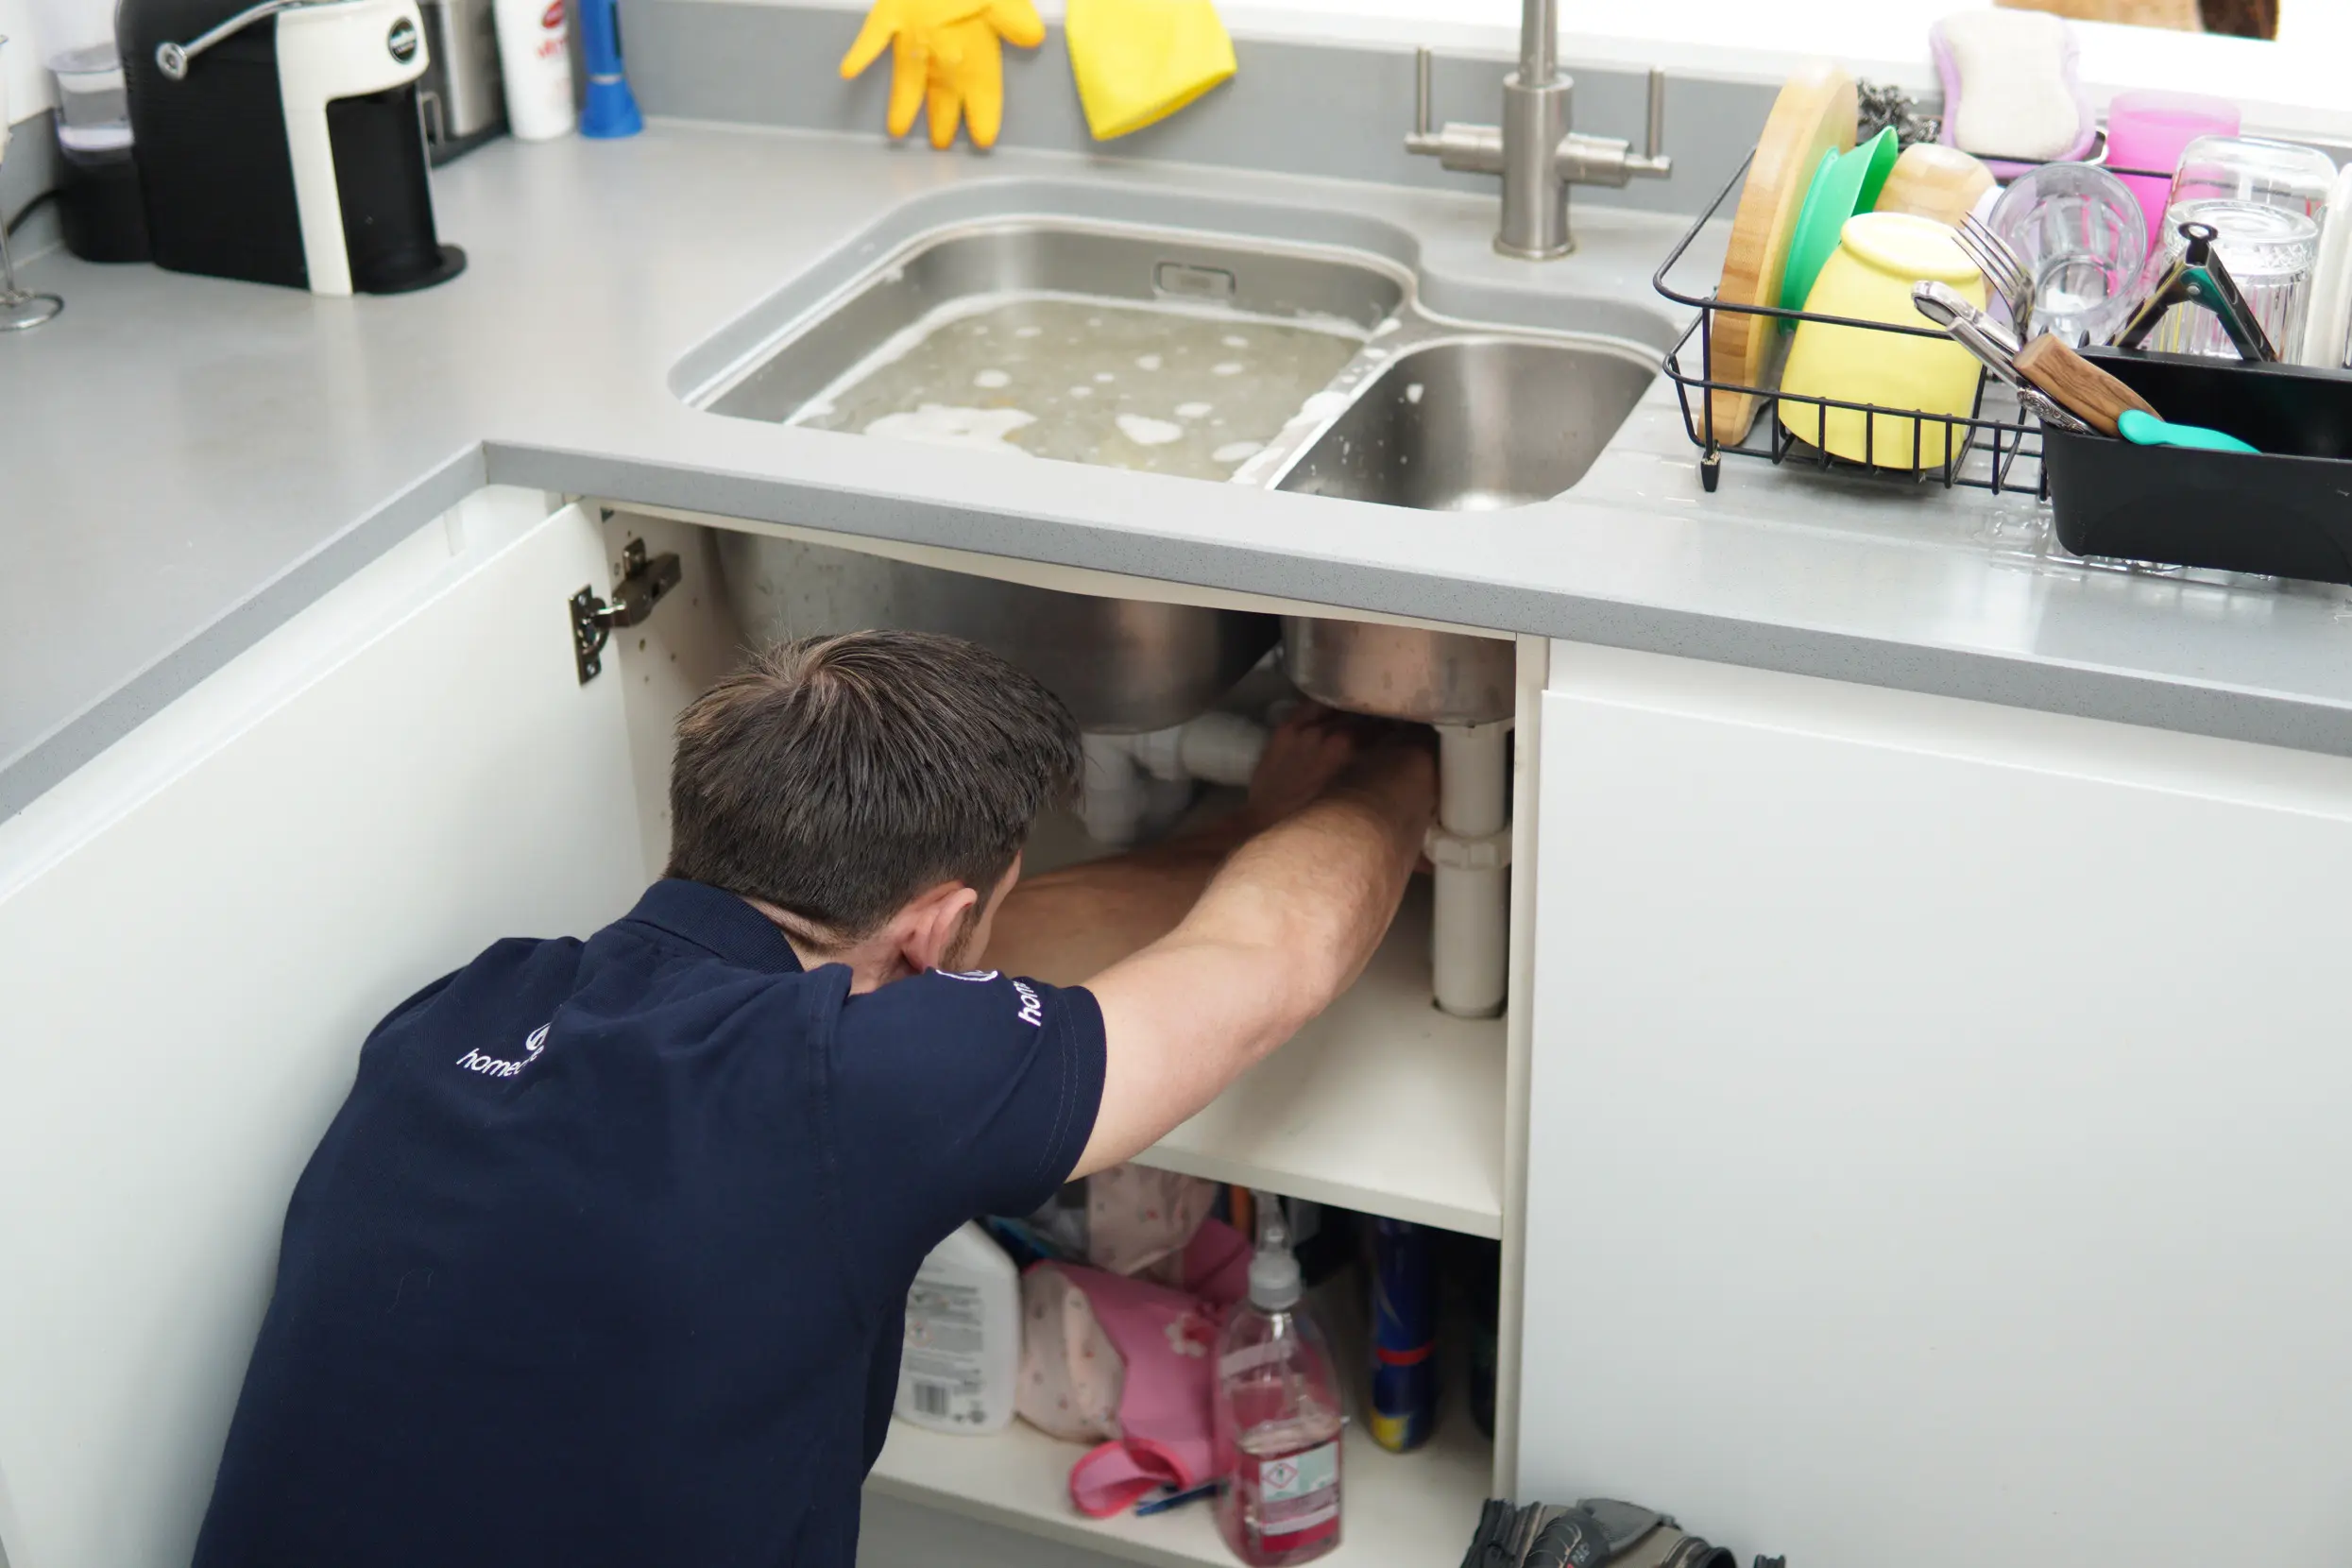
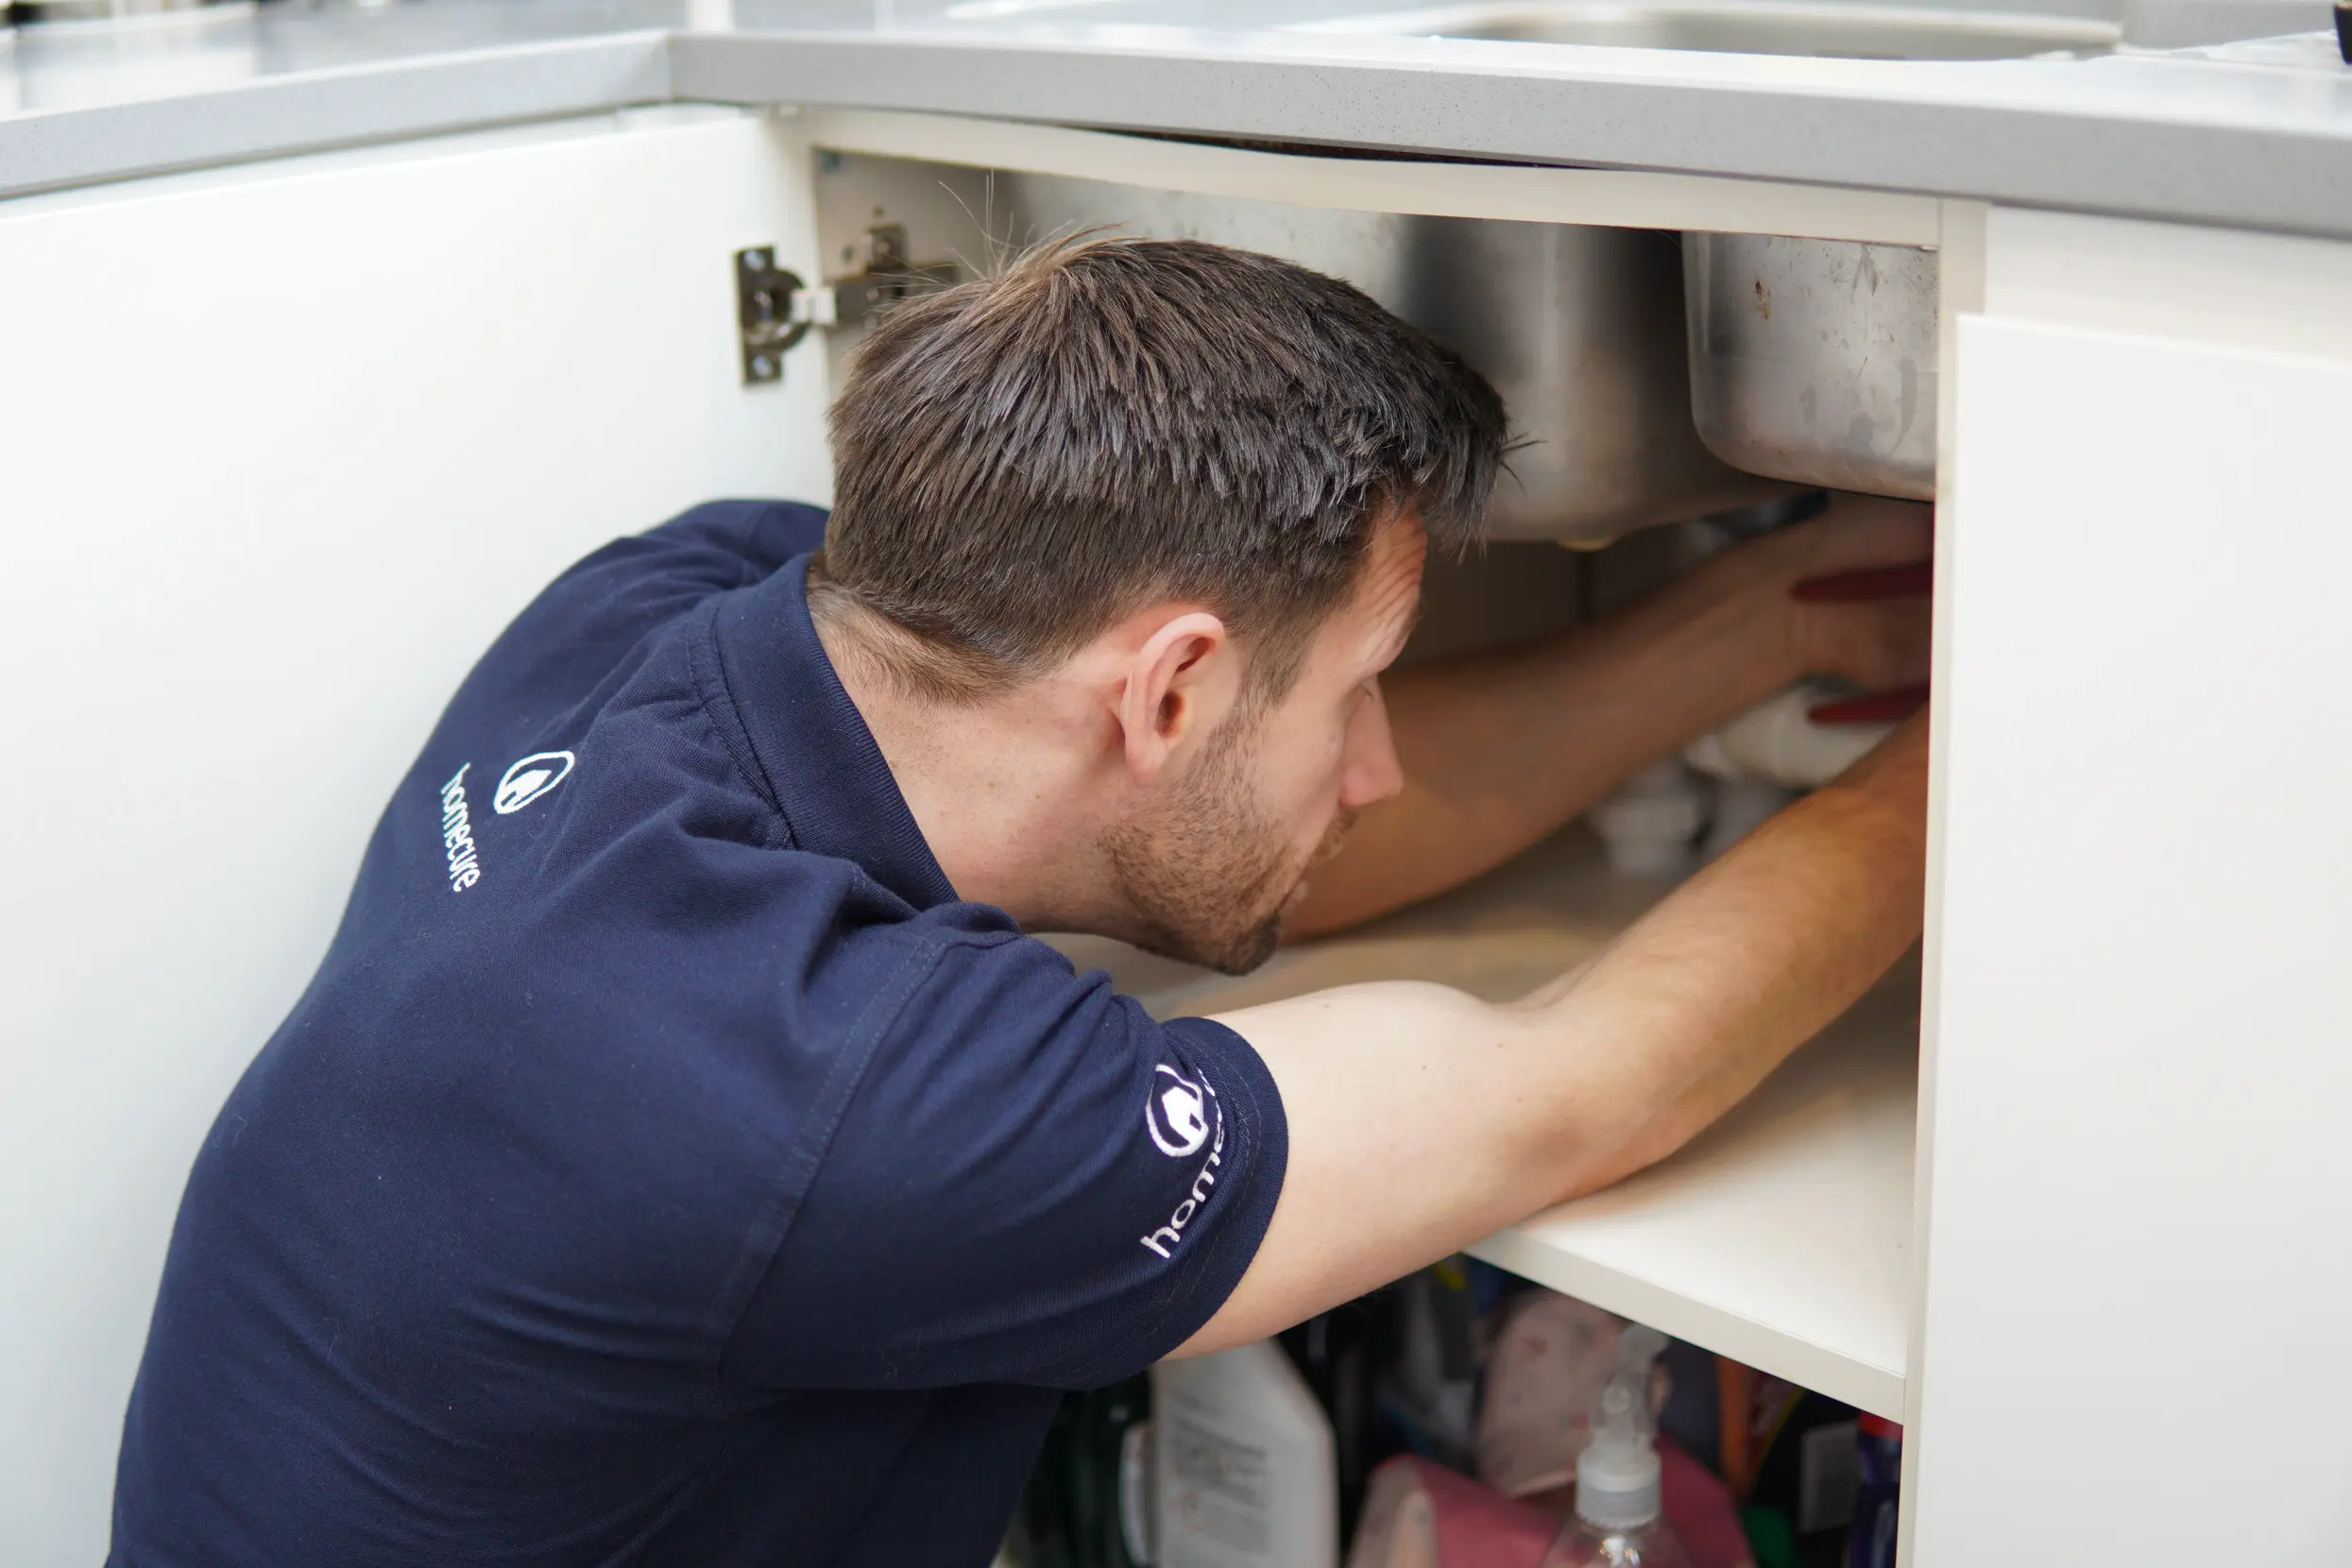
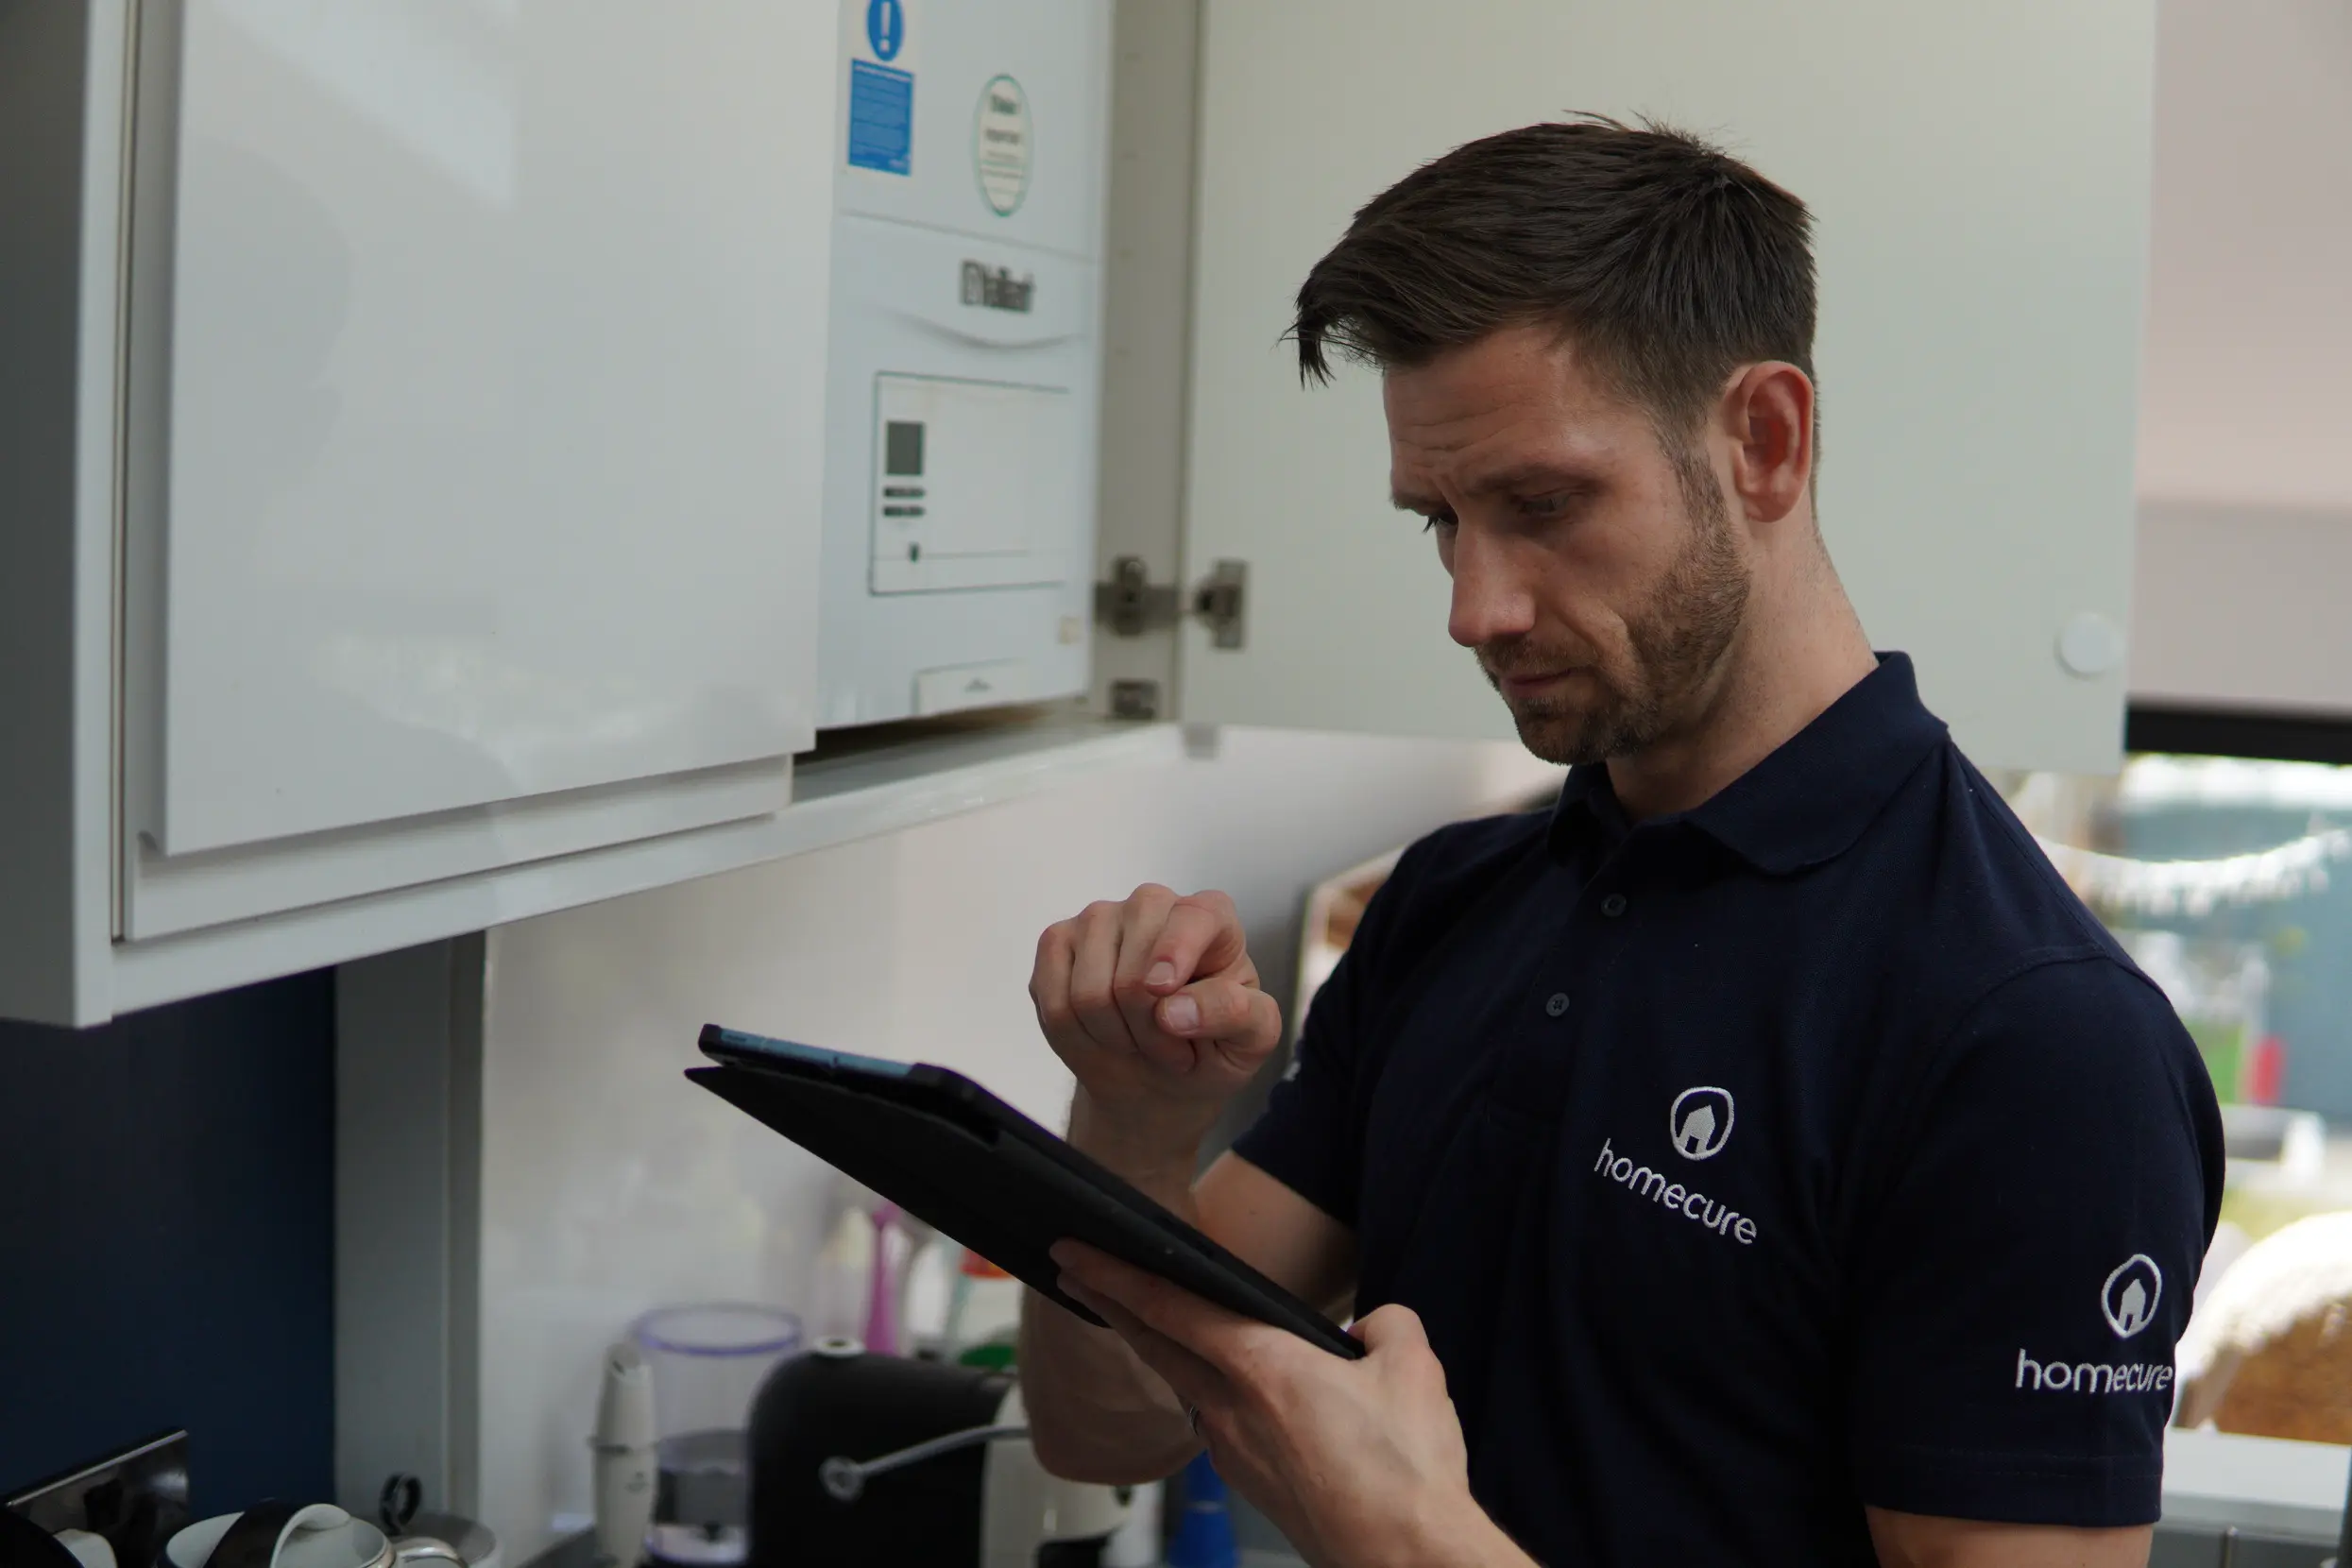
If the thought of taking on this task is too daunting or you simply don’t have the time or tools, Homecure’s emergency plumbers are available to help at short notice.
Frequently Asked Questions
Why is my tap still dripping after replacing the washer?
If your tap continues to drip after replacing the washer, the issue may lie with the tap seat or other internal components. Inspect the tap seat for any damage or debris and consider replacing additional parts, such as the O-ring.
Can I use any size O-ring to fix my tap?
You must use an O-ring that matches the exact diameter and thickness of the original to ensure a proper seal and prevent leaks. Using the wrong size will compromise the repair’s effectiveness.
How often should I perform maintenance on my taps?
You should perform maintenance on your taps at least once a year, and address any signs of wear or leaks immediately to prevent further damage.
What should I do if water is still flowing after turning off the isolating valve?
If water continues to flow after turning off the isolating valve, first ensure it is fully closed. If the issue persists, do not attempt the repair and consult a professional for inspection and potential repair of the valve.
Are ceramic disc valve taps better than traditional taps?
Ceramic disc valve taps are superior to traditional taps in terms of durability and seal reliability, though they may come at a higher cost and require specific replacement parts. Thus, they are a worthwhile investment for long-term performance.
 Reach us 24/7, 365 days